Saturday, April 30, 2011

Random Scrapbook Pages


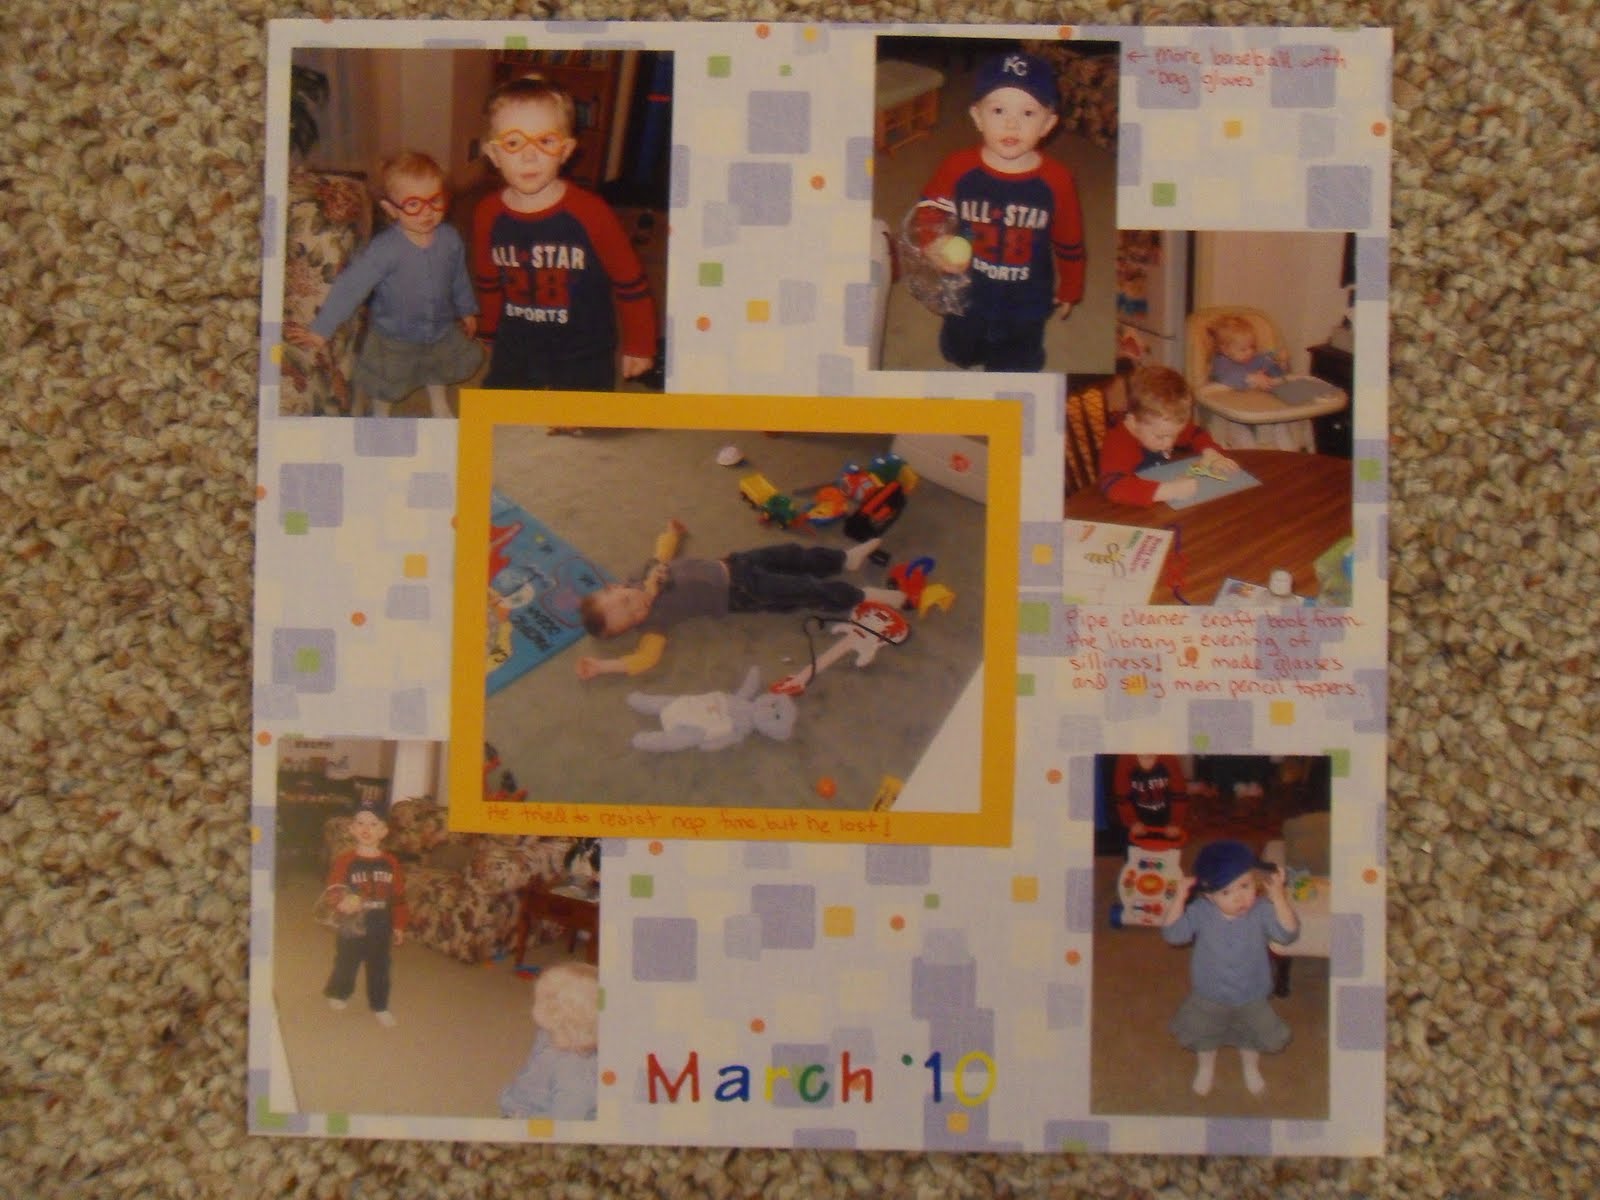
I used the Everyday Paper Dolls cartridge on my Cricut for these two pages.  I can't wait to make some paper dolls.  There are also backgrounds you can cut out and lots of accessories, like these zoo animals and train.  The rest of the pages were done at my mom's house, without the Cricut.


Friday, April 29, 2011

Welcome Little One Card


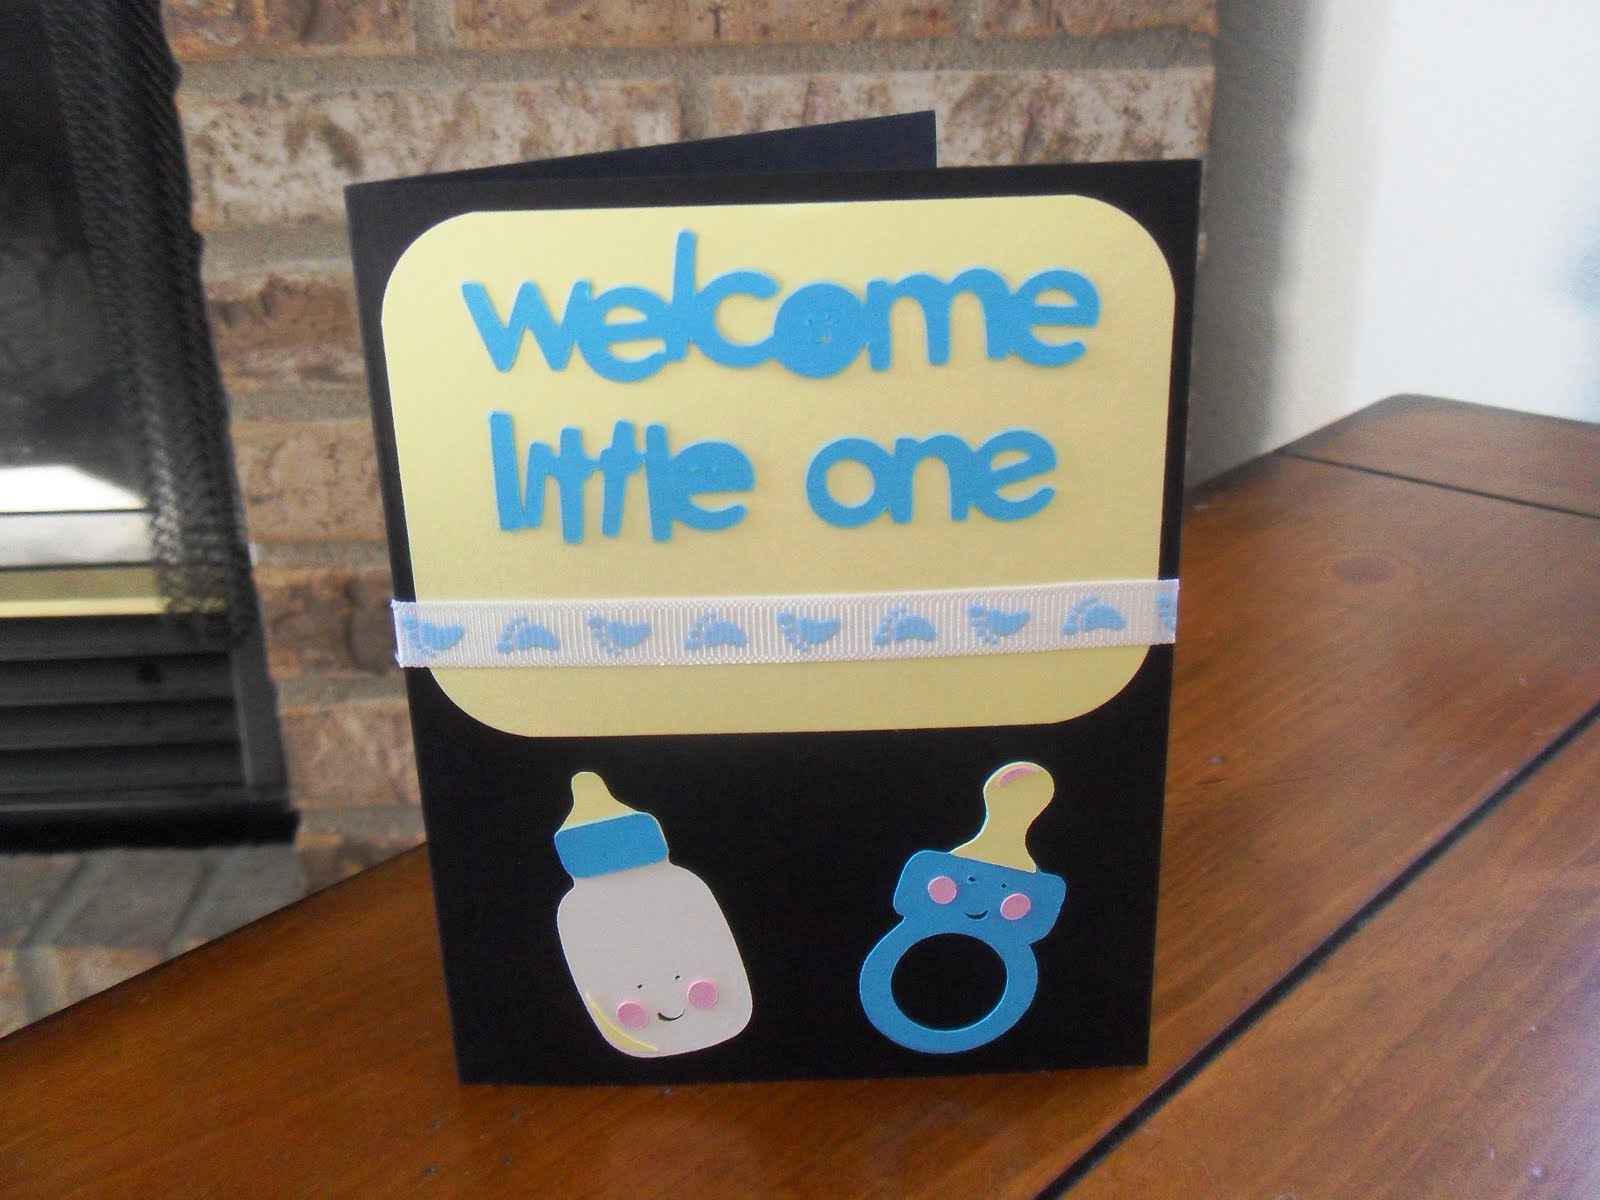
My first Cricut project!  This sweet card is going to my sister, she just had a beautiful baby boy!  The bottle, pacifier, and the words are from the Simply Charmed cartridge.  I also ordered the Everyday Paper Dolls and the Plantin Font.  I found them the cheapest on Amazon, and then got free shipping because I spent more than $50.  The amazing part is that I got two of them in only two days!  The third is coming from somewhere else.  The Cricut was very easy to use.  There was a little bit of a learning curve while trying to get them to cut out in the correct size, but I think I've mastered that now.

I am so excited to make the paper dolls!  I think I am going to make a set for my niece for her upcoming birthday.  The picture on the back of the cartridge doesn't even give you half of the options, There are 6 images for every button, and then you add 6 more by using the shift key - awesome!

Tuesday, April 26, 2011

Cricut Expression - It's even pink!


Look what I got!  I'm so excited to finally have my very own Cricut!  Now I need to buy cartridges.  So, if you have a Cricut, please leave a comment for me and tell me what your favorite cartridge is, and the one you use the most.  If you want to leave a link to pictures of projects you've made, that would be awesome.  You'll be seeing some fancy scrapbook pages from me soon!

Saturday, April 23, 2011

Spaghetti Bird Nests (Kids Craft)


This month in our homeschooling preschool, we are learning about birds.  I found this great project for spaghetti nests, and thought it would be fun to do with the kids.  We mixed our spaghetti with glue and paint and layered in a bowl covered in wax paper.  My kids loved making colored noodles!  So much so, we made way too many and our nests got really thick!  The directions say it may take a day or two to dry.  We left ours on the counter for about 5 days and they weren't even half dry, and they were starting to smell, so I broke out the hair dryer and stood there for quite a while (I was reading a book).  So if you choose to do this with your kids, just break out the hair dryer right away, or if you live where it's actually sunny and warm in April (not snowing), you can put it outside and it'd dry faster.  I also hard boiled some eggs so they would have an egg to put in their nest.  I intended to dye the eggs blue to look like Robin eggs, but we didn't get to it. 

Rebekah's nest before drying.

 Caleb's nest before drying.

Rebekah's finished nest!

Caleb's finished nest!

Friday, April 22, 2011

Fabric Choices for Little Girl Skirt

Help us decide what fabric to pick for this skirt.  It's for a little girl, about 8 years old.  These are the fabric choices that I had already in my stash, so which one do you like the best?  The last picture is to show that if I used only the corduroy pants as the fabric, it would be and inch shorter than requested (and that's with a frayed hem). 


Very technical measuring tape isn't it?

Thursday, April 21, 2011

Little Girl Jean Skirts


Two jean skirts made for a little girl in my church.  Both pairs had butterfly's on the back pockets already, which make them extra cute!  The first skirt has a frayed hem, and the second has a normal, double rolled hem.  I also have a khaki corduroy one to make for her, but I need her to pick the fabric.  


Monday, April 18, 2011

Jean Skirt Using a Pair of Capri Pants


I made this skirt for a friend using a pair of capri pants she found at Goodwill.  I left the original hem on the pants and then added piece of denim from another pair of jeans.  When I pinned the piece to the pants, I also pinned the hem of that piece, and sewed the hem at the very end (in case I had to adjust it due to the fabric pulling).  Here are photos of the front and back of the new skirt.  If you missed my original tutorial on how to turn jeans into a skirt, you can click here. 

Related Posts Plugin for WordPress, Blogger...